

Project 5 - Etching Aluminum With Ferric Chloride
- Sep 29, 2017
- 7 min read
Recently I came across some guitar pedals that had graphics etched into the aluminum, rather than silk screened. Wanting to try this on my own pedals, I did a bit of research and purchased a variety of tools for the job.
So far, I have made three attempts at etching using a chemical called Ferric Chloride and have had varying degrees of success. Although the final results turned out quite well, this experiment was much more challenging that I expected. So, if you're thinking about etching your own guitar pedals, hopefully this information will help you avoid some of the mistakes I made.
Part 1 - The Toner Transfer Method
The etching process begins by transferring a one-colour graphic onto an aluminum enclosure. This technique is called the toner transfer method and is most commonly for making PCB's at home. In order for this process to work you must use a laser printer. Why, you ask? Well, quite simply, the toner found in laser printers is made with a type of polymer that, when heated, can be transfer to another surface - in this case, a guitar pedal enclosure. This polymer resists the Ferric Chloride solution described below, so only the areas not covered by toner will be etched.
Here's what you do:
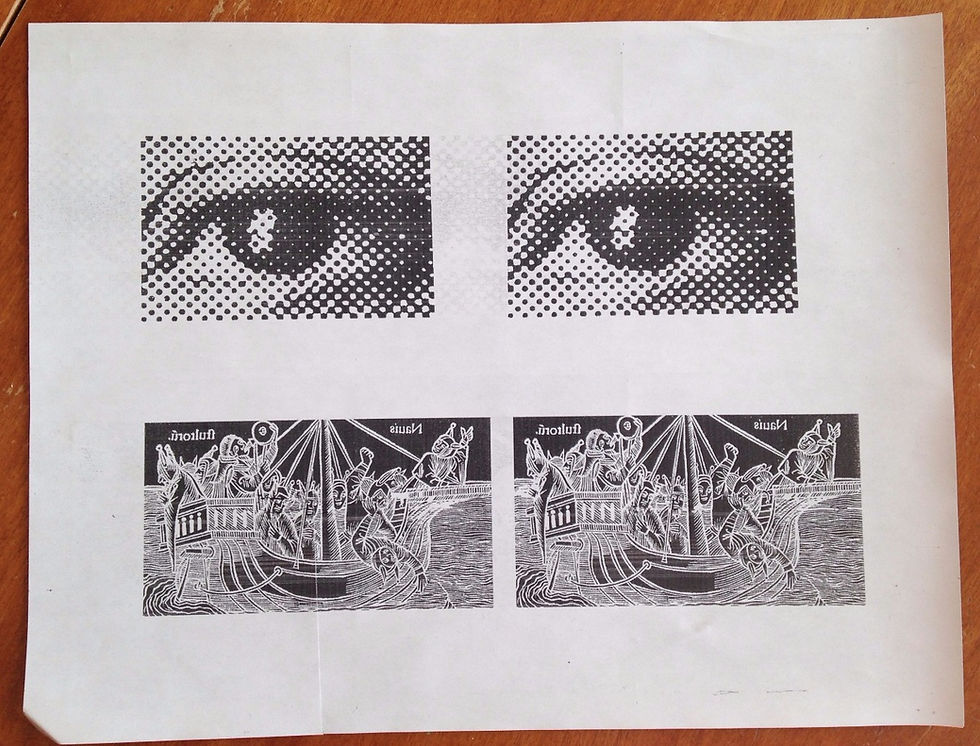
1. Create a 300dpi black and white image in Photoshop. Be sure to flip the image horizontally before printing, otherwise it will appear reversed once transferred to the enclosure.
2. Print the image, using a laser printer (or laser photocopier), onto the shinny, waxy side of Avery sticker/label paper - be sure to remove all the labels first. You should be able to find this paper at virtually any office supply store.
3. Clean the surface of your enclosure with Isopropyl Alcohol to remove any unwanted oil and dirt. If your enclosure has already been drilled, you can use nail polish to coat the inside. Nail polish will resist the Ferric Chloride and can easily be removed with Acetone once the etching is complete.
4. Place the label paper toner-side down onto the aluminium enclosure... I like to use a bit of painter's tape to secure it in place.
5. Cover with a paper towel, then take a clothing iron, set it to high heat with NO STEAM, and iron for 3 minutes. This should be enough time to heat the toner, allowing the image to be transfer to the enclosure.
You don't need to apply much pressure, but some pressure probably helps.
If the paper turns brown, your iron might be too hot. This could damage the toner; in which case, you may need to remove it with Acetone and start again.

6. After ironing, allow the enclosure to cool. Be careful, it's hot! To speed things up, I like to drop it into some water to help it cool faster.
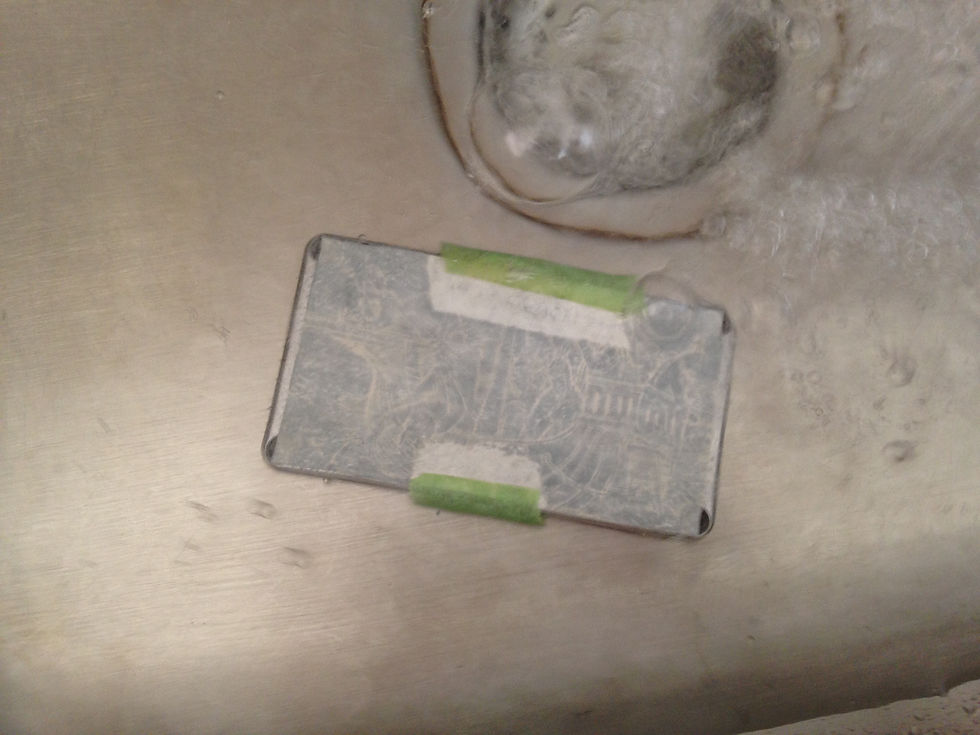
7. The label paper should now easily peel away form the enclosure, leaving behind all the toner. If any toner doesn't transfer, you can fill in small gaps with a Sharpie; or remove the image with Acetone and start again. Here's what it should look like once the toner has been transferred:

This toner is quite resilient and you don't need to worry about rubbing it off. In fact, you can use the toner transfer method to add graphics to your enclosures and skip the etching process altogether.
A bit of advice: For my first attempt, I used a Brother laser printer and, for whatever reason, it wouldn't print onto the Avery label paper; so, I tried photo paper and that seemed to work. Unfortunately, after ironing it was almost impossible to remove the photo paper without lifting some of the toner.
Eventually I discovered that Brother laser printers do not work for this process because of the chemical composition of their toner. I then tried printing with a Samsung ML-2955DW laser printer and it worked really well.
Sadly, this printer is now discontinued; but I suspect any Samsung laser printer will probably do the job.
Part 2 - Safety First
Be sure to wear safety glasses. Although Ferric Chloride is relatively harmless, you don't want this stuff splashing into your eyes.
Also, to neutralize Ferric Chloride simply submerge it in a Soda Ash solution. Soda Ash (aka Sodium Carbonate) is very easy to make. Sodium Bicarbonate is baking soda and to transform it into Sodium Carbonate simply heat in a 200°F oven for about an hour. This will remove the carbon dioxide, leaving behind dry Sodium Carbonate. Now add a few tablespoons to water and you're all set. You'll notice that when you place Ferric Chloride into the Soda Ash solution it starts to bubble. Once the bubbles stop, the Ferric Chloride has been neutralized.
Part 3 - The Etching Solution
Now that you have your Soda Ash solution it's time to prepare the etching solution...
The main chemical you will be using is called Ferric Chloride. It is made of corrosive salt crystals and has been used for centuries by metal etchers because it has a very accurate bite, gives off no toxic vapours, and causes little damage to skin or most other materials if accidentally spilled.
The kind I used was manufactured by MG Chemicals and comes pre-mixed. I bought it from Sayal Electronics.
The only disadvantages to using Ferric Chloride are the amount of time it takes to etch (often upwards of 30 minutes) and the crystalline sediments that builds-up during the etching process. This sediment can prevent the Ferric Chloride from etching and requires constant cleaning throughout the etching process.
One way to speed up the process and prevent the build up of sediment is to alter the chemical properties of Ferric Chloride by adding Citric Acid (commonly used to make sour candies and available at Bulk Barn). This mixture, developed by Friedhard Kiekeben, is called the Edinburgh Etch solution and it first appeared in Printmaking Today Vol.6, No.3. in 1997.
To make an Edinburgh Etch solution:
1. In a small plastic container (large enough to fit your aluminum enclosure) add 1-part Citric Acid (3 Tbsp.) to 4-parts Ferric Chloride (12 Tbsp.), and mix until the Citric Acid has dissolved.
2. Place the small plastic container into a larger container filled with about 1 inch of water.
3. Place a glass thermometer into the etching solution to monitor the temperature.
4. Place a portable Immersion Heater (available at Bed Bath & Beyond) into the water and plug it in. Once the temperature of the etching solution reaches 30 degrees Celsius, unplug the Immersion Heater. You're now ready to begin etching.
This image shows the etching solution in water (right) and the soda ash solution (left):

5. Set your timer to 5 minutes, then place your aluminum enclosure into the etching solution. After a few seconds, you will start to notice bubbles forming - this is the chemical reaction taking place between the etching solution and the aluminum. Although the Edinburgh Etch solution is said to prevent any build-up of sediment, I still like to lift the enclosure out every few seconds to check (and no, I probably shouldn't be using metal tongs for this).

6. After 5 minutes, remove the enclosure and place it in the Soda Ash solution. You will notice right away that the Soda Ash water begins to bubble. When the bubbling stops, the Ferric Chloride has been neutralized. Now rinse with water.
7. Examine the enclosure - If you think it needs to etch a little deeper, place it back into the etching solution for another 1-3 minutes.
More advice:
Determining if the etch is deep enough is probably the most difficult part of this process. After 5 minutes in the solution, the enclosure looks black and it's difficult to tell how deep the etch is.
The best way to resolve this is to use a timer. If you use the proper mix of Ferric Chloride and Citric Acid each time, the speed at which the solution etches should be constant (although I have read that the solution may actually become a bit stronger after each use). Since I have only done this a few times, I really can't say for sure.
Also, I don't recommend trying to clean the enclosure until you're certain the etch is deep enough, as this could remove some of the protective toner.
The Results:
First Attempt: Wrong mix of Ferric Chloride and Citric Acid
For my first attempt, I didn't use the proper mix of Ferric Chloride and Citric Acid. This caused the etching process to take over 20 minutes. When the two enclosures, show below, were finally done (or so I thought), I cleaned them with Acetone then coated them with glossy black spray paint - allowing them to dry overnight before sanding and polishing.
Unfortunately, because the etch didn't go deep enough, much of the paint and some of the detail was lost while sanding. Still looks pretty cool though.

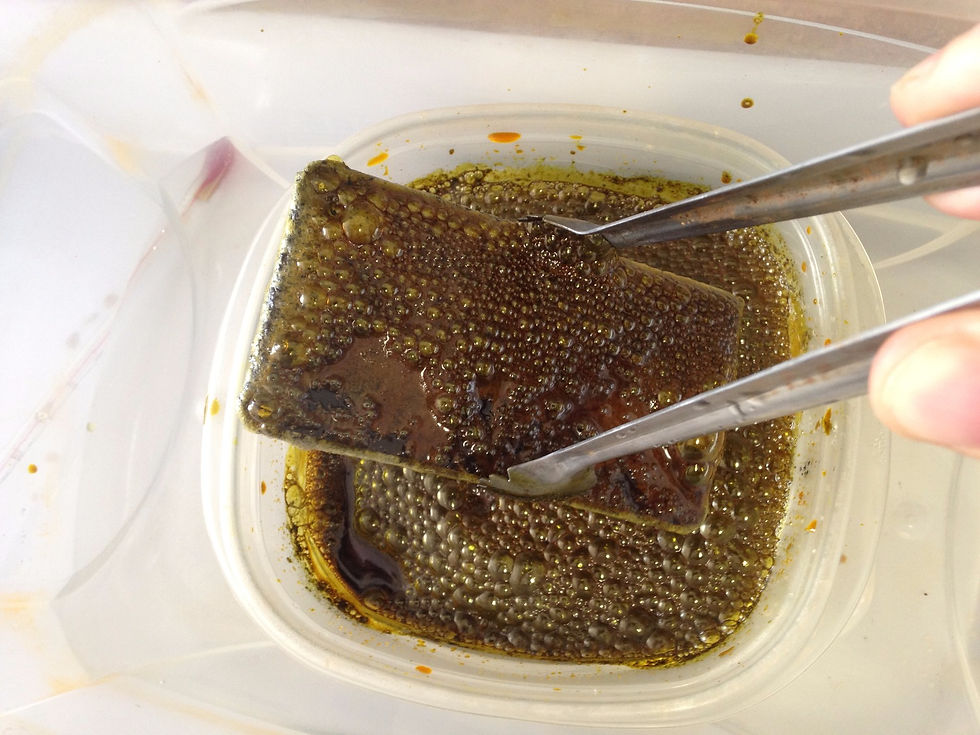
Second Attempt: Etching solution was too hot
This time I used the correct mix of Ferric Chloride and Citric Acid; however, as you can tell from the excessive bubbling in the photo below, this solution was way too hot - around 45 to 50 degrees Celsius. Although the enclosure was only submerged for 3 minutes, the chemical reaction was so strong that it started to lift away the toner. Had I kept going, all the toner would have been removed and the image completely lost. You can see just how black the enclosure was in the photo below...

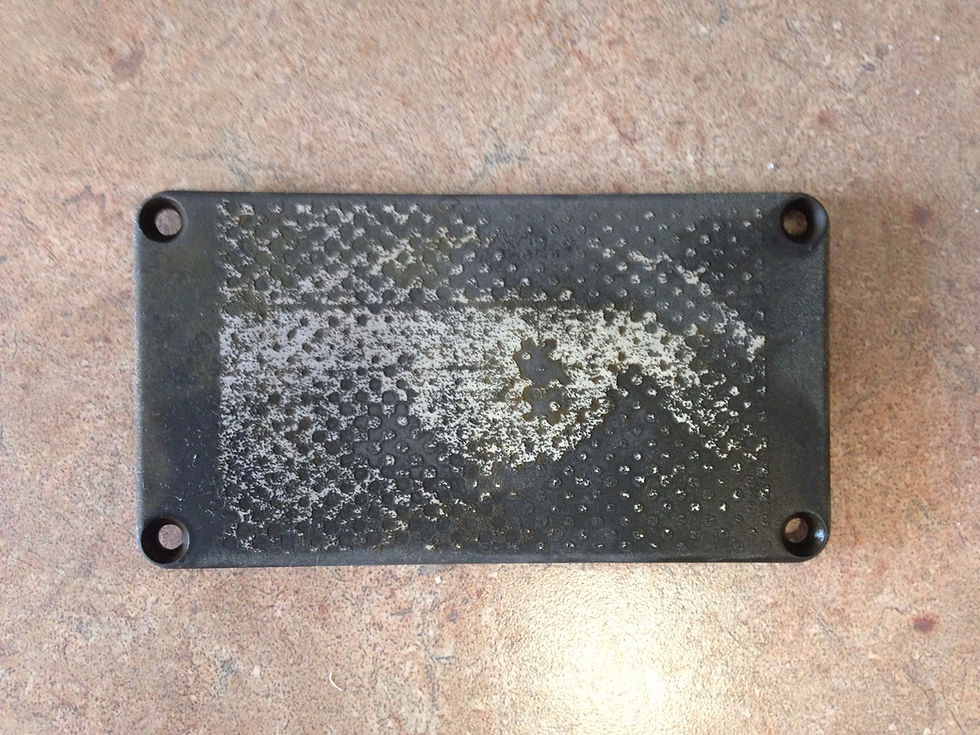
After rinsing in the soda water, I cleaned the enclosure with Acetone and instantly could see an improvement. I then sanded it with 600 grit, then 1000, 3000, and finally some Mother's aluminum polish. Here's how it turned out... I can't help but wonder what it would have looked like had I not reversed the image before transferring the toner.

Third Attempt: Should have etched it a bit longer
For my third attempt, I only heated the solution to 30 degrees Celsius. I then placed the enclosure in the solution for exactly 5 minutes. Although this attempt turned out quite well, had I etched it a couple minutes longer it probably would have retained more detail. At least I know for next time.

One final thing:
After you're done you can store the etching solution in a plastic container and use it again.
Do NOT, for any reason, dump this corrosive chemical down the drain or it will dissolve your pipes - especially if they're copper. And you really don't want this stuff finding it's way into the soil that grows our food or into the rivers and lakes that provide our drinking water. Be sure to dispose of it properly. If you live in Canada, you can find out how to dispose of harmful chemicals by clicking here.
Thanks again for reading. Next, I'll be building (and etching) a very cool distortion pedal that uses a vacuum tube instead of a transistor. Until then, happy building.
M.


Comments